Python programming language is widely used to control and program various test and measurement instruments, be it a single instrument or a system with various instruments. The reasons Python programming is gaining such popularity are:
- It is an interpreted programming language meaning you don’t need to compile your code each time you are doing some changes in order to run it.
- Easy to read & write code with, with a lot of libraries for pretty much anything.
- It’s free
This series of tutorials, “How to Control Tabor AWGs with Python”, will provide step by step instructions and various examples of how to use Python in conjunction with Tabor Arbitrary Waveform Generators.
This first tutorial of the series will explain how to get started and what needs to be installed in order to control the Tabor AWG with Python. This series of tutorials demonstrates how to program using Python 2.7 (Anaconda) to control Tabor’s WX2184C model. For connecting with other Tabor models, such as the WW series, just follow the same instructions with the relevant changes (downloading the matching drivers for the specific model).
This set of tutorials assumes you successfully established connection with the Tabor unit using your preferred remote interface method (LAN,GPIB or USB). Please note that if you have a unit which is not one of the WX series model, you will need to first go over our connectivity tutorials to make sure you are all set (for establishing a USB connection using one of our Wonder Wave series of AWGs, you’ll need to download & install the Tabor USB driver).
There are two ways to control an instrument. The first is using the Standard Commands for Programmable Instruments (SCPI), which are an ASCII-based set of commands for reading and writing instrument settings. The second is to use the IVI driver functions of the instrument. The IVI driver provides a higher level of programming that doesn’t require any knowledge of the instrument’s SCPI commands. This tutorial will explain how to install all that is needed regardless of the method chosen to control the instrument.
IMPORTANT NOTE BEFORE PROCEEDING
It is possible to control the AWG without NI-VISA installation. This is done using Python libraries and instrument specific SCPI commands. For those interested in this method please proceed to the next tutorial “How to Control Tabor AWGs With Python – Using SCPI Commands” where you will find an example attached demonstrating how to do so.
- To connect and control the Tabor AWG with Python
1. In order to control the instrument through VISA, first you will need to install National Instruments latest VISA. Please visit NI VISA download page and install the latest version according to your OS (32bit & 64bit).
Skip to step 8 if you only intend to use SCPI commands in your code without the help of our IVI functions:
2. If you intend to use the Tabor IVI driver functions, please download the NI-IVI Compliance Package. Please visit IVI Compliance Package download page and install the latest version.
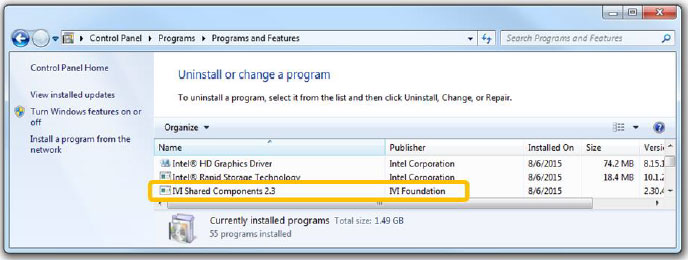
3. Next, please download and install the latest IVI shared Components from the IVI foundation webpage. Please make sure to choose the right version according to your OS.

4. To verify that it installed correctly go to Control Panel\Programs\Programs and Features:
5. To install the Tabor IVI driver, go to the downloads page on Tabor’s website. Click on the Downloads menu entry, select the model from the Model Number drop-down box, and select “Drivers” from the Download Type drop-down box. Click on the Search button. Download the IVI driver that matches your Python 2.7 version (64bit or 32bit).
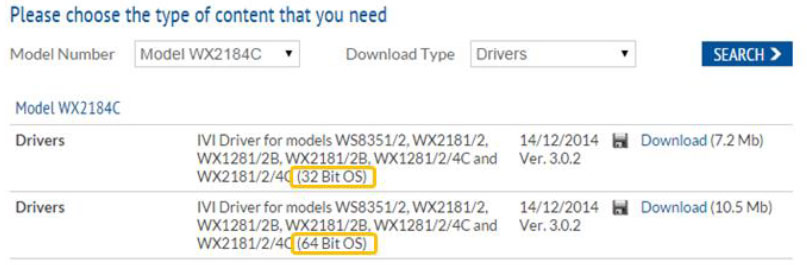
NOTE
In order to download the IVI driver, you must be registered to Tabor’s website using an email and a password.
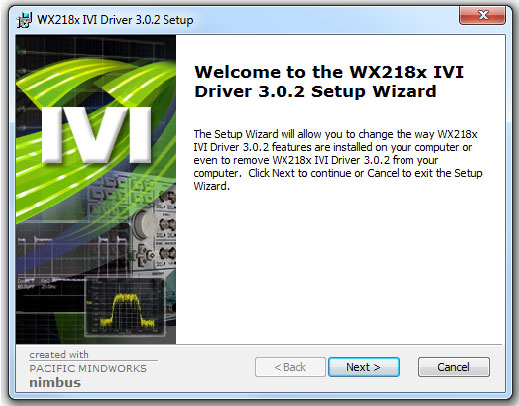
6. After the download is complete execute the installation file and follow the on screen instructions.
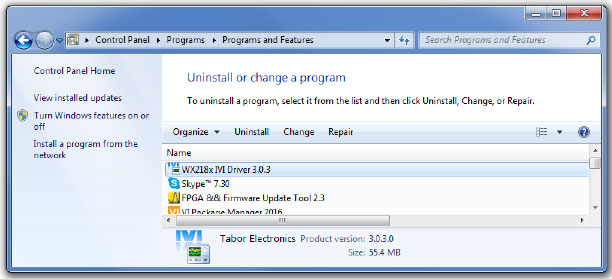
7. Once the installation is complete go to Control Panel\Programs\Programs and Features and check that the IVI driver has been installed properly:
8. Next, download the latest version of Anaconda’s Python installer from the Continuum Analitics website according to your OS (32bit or 64bit):
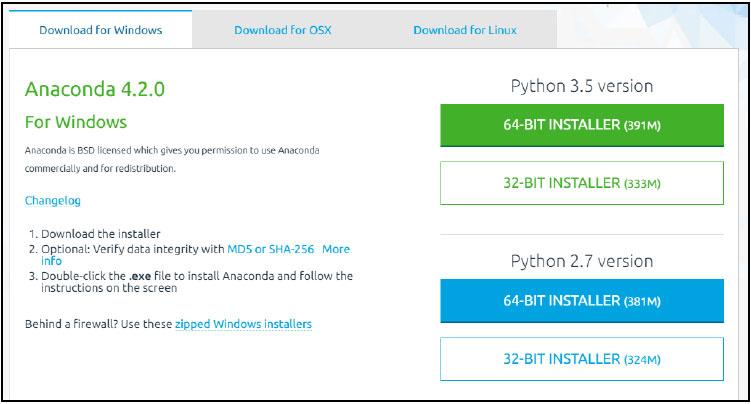
We recommend to use the Python 2.7.x with the Tabor instruments. For this tutorial we choose to demonstrate the Python 2.7 64bit installer on a 64bit Win 7 OS. If you choose differently, please make sure that your NI-VISA + Python (+ IVI driver) share the same bitness (32bit & 64bit).
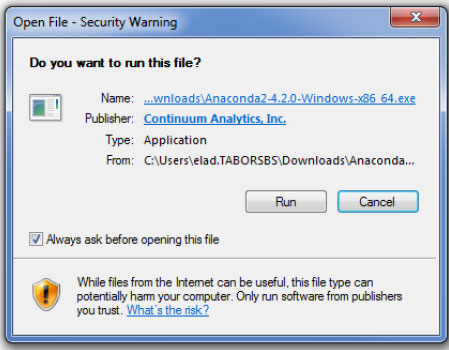
9. To start the download, press the ‘Run’ button then ‘Next’:

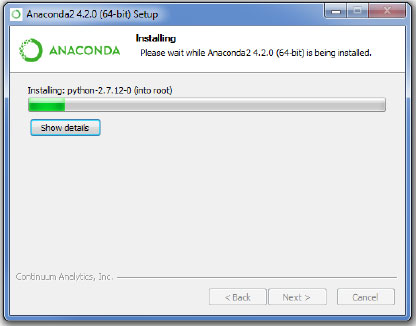
10. Wait for the installation to complete. Once finished, you may be prompted to perform a reboot:
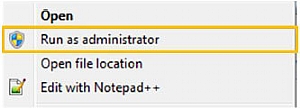
11. Go to Start ->> All programs ->> Anaconda2:
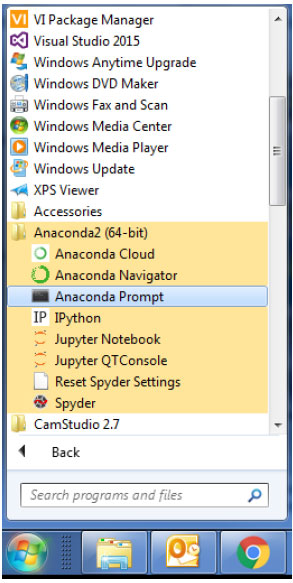
Right click on the ‘Anaconda Prompt’. Choose to Run as administrator:
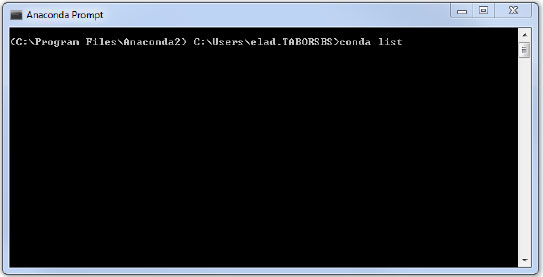
12. Type “conda list” as can be seen below:
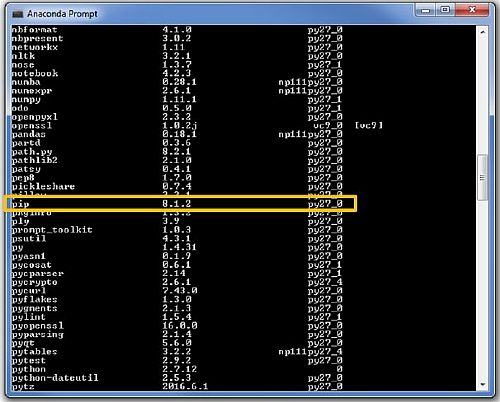
It will open a list of all python packages already installed on your computer. Make sure you have ‘pip’ installed:
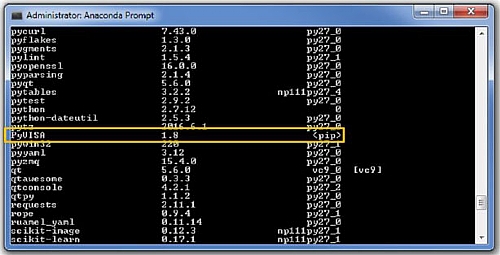
13. Next type “pip install pyvisa” in order to install the Python wrapper for the NI- VISA you already installed. Press Enter:
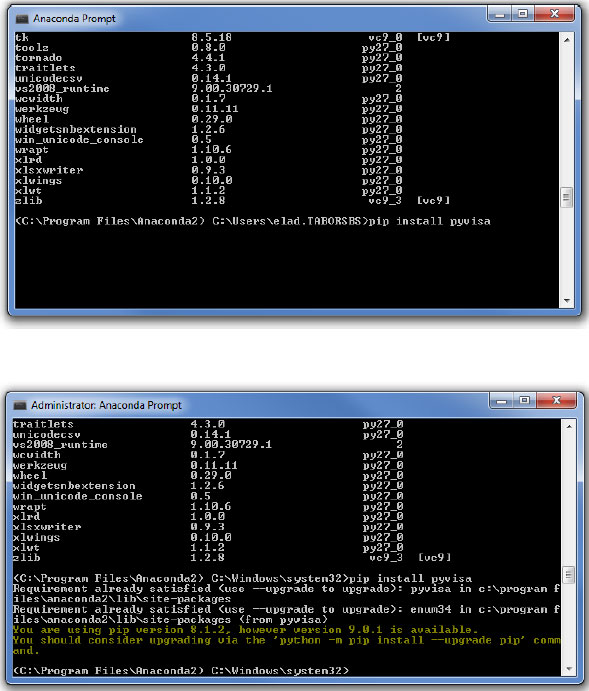
Make sure you can see it in the list of installed packages:
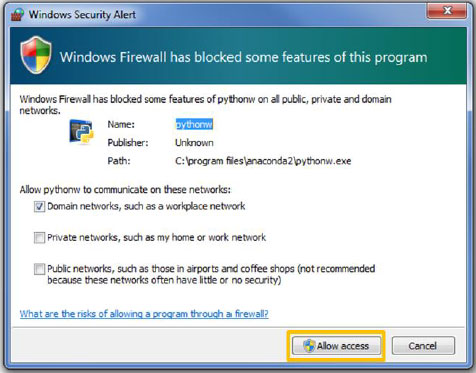
14. Go to ‘Start ->> All programs ->> Anaconda2’ and run the Spyder IDE:

You will be asked to allow access:
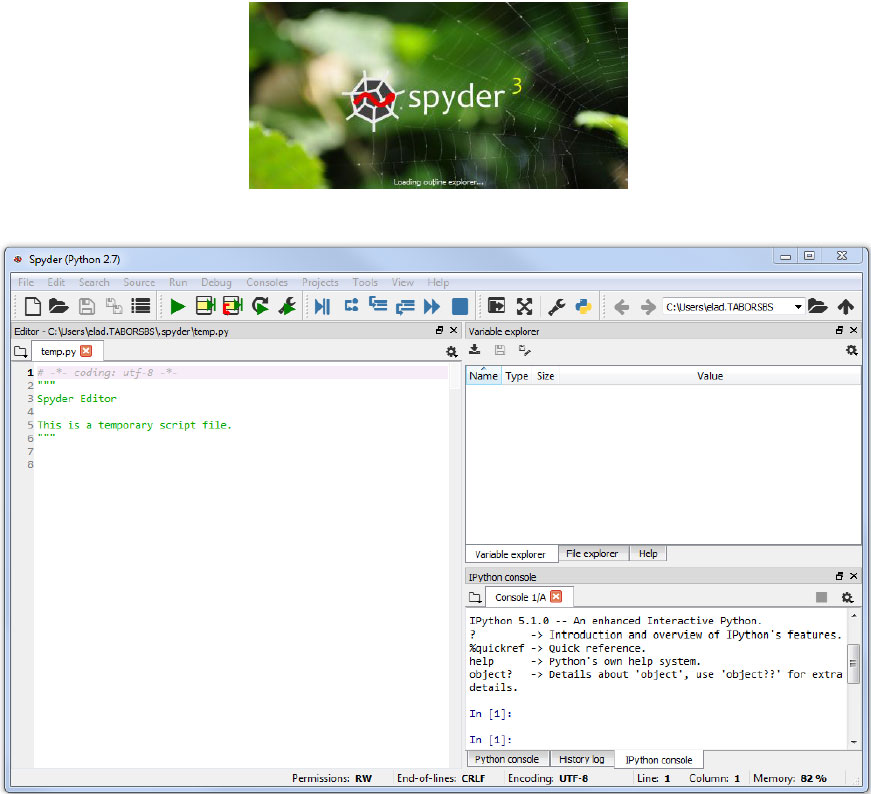
15. Wait for the Spyder IDE to appear:
- To Test Communication with Tabor AWG using Python
For this example a WX2184C unit will be connected remotely to the computer through the USB port:
1. Set the USB/LAN/GPIB as the remote interface, using the Tabor’s front panel buttons. To do so, go to: “Utility”->”Remote Interface”->”Select Interface”->”Control from Interface”. Press Enter to select the active Interface you need. Wait for the answer “Done”:

2. Visit the following PyVISA webpage, where you will find a detailed information regarding the use of PyVISA. Try the following lines of code as can be seen in the example below to test the communication with the Tabor instrument (for testing a TCPIP connection, skip to the next tutorial: “How to Control Tabor AWGs with Python – Using SCPI commands”).

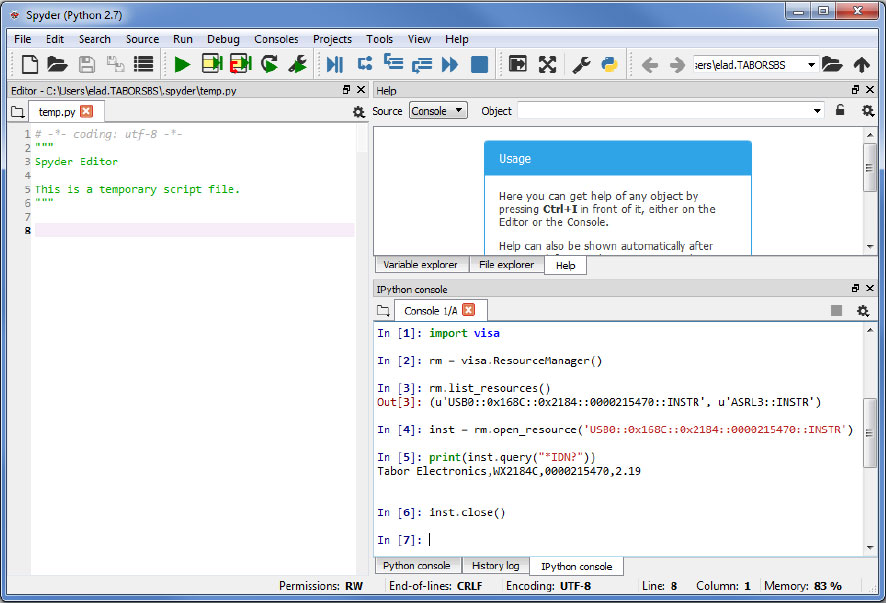
3. Once you’ll run the example, a red REMOTE LOCKOUT sentence will pop up on the LCD display of the Tabor instrument, indicating you have established connection with the unit.
Now that all the software and drivers required to work with Python have been installed, please proceed to the next tutorial “How to Control Tabor AWGs with Python – Using SCPI commands”.
For More Information
To learn more about how to remote control Tabor instruments using Python, visit our website Support & Tutorials zone. If you encounter difficulties with connecting to Tabor units using Python, please contact us at [email protected] and our support team will gladly help. For more of Tabor’s solutions or to schedule a demo, please contact your local Tabor representative or email your request to [email protected]. More information can be found at our website at www.taborelec.com